Along with trying to figure out fabrics and furniture for the Bay House, my mom has been hard at work settling their “house house”. They moved from the Midwest back to their Virginia roots a little over 2 years ago, downsizing from a big, room-filled house to a generously sized but much smaller and more open townhouse. In going to a smaller house with fewer living spaces, they’ve faced real problems trying to fit their furniture and arrange it in a comfortable, entertaining-friendly way!
But they’re making great progress! I thought I’d share a few recent pics and show what I think is a fabulous way to showcase big windows! (Go Mom!)
The townhouse’s main floor has a kitchen and breakfast area at the rear (with a sliding door going to a brick patio), and then a big open room for dining, entertaining, and a little “study” anteroom. Here’s the front corner of the main living area:
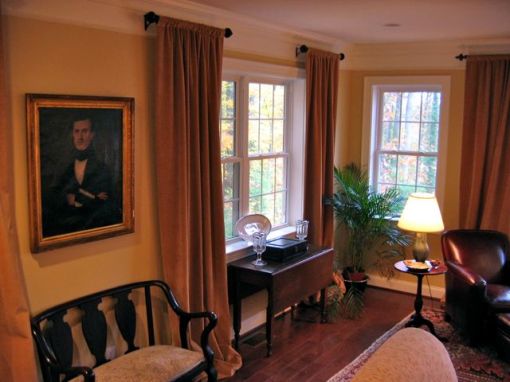
one corner of the main living space
Aren’t those big windows great?! There’s another HUGE window to the right where you see that panel. And there’s great-great-great-great-great grandpa on the wall, with a neat antique bench below (recovered in a pretty paisley velvet).
The walls are Benjamin Moore’s Monroe Bisque, the same color I have in my house’s hallways and stairwells. It’s a great warm neutral, which looks totally different in different lights. It works really well in this space that is so full of windows.
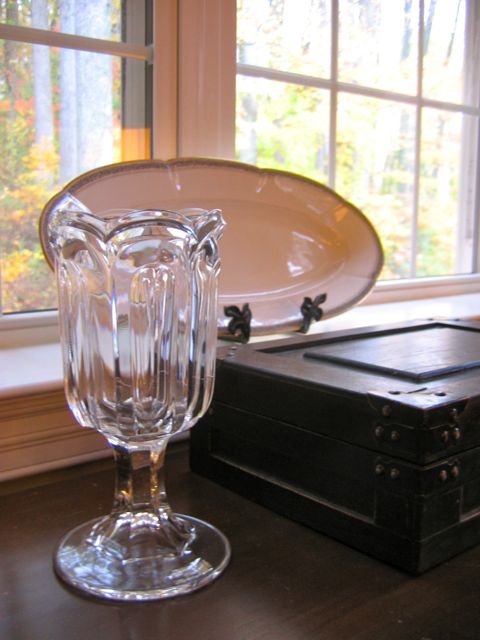
pretty vignette
Here’s a close-up of a the vignette on the drop leaf table in the first pic. She flanked an inexpensive wood box (TJ Maxx maybe?!) with a pair of Early American Pressed Glass celery vases (similar to the one she picked up on the Eddie Ross flea market adventure!). And behind it is a pretty platter from the late 1700s, passed down from my grandmother!
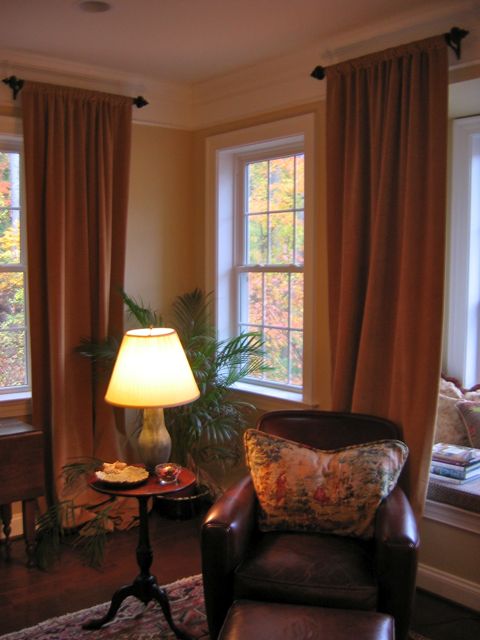
a comfy perch
Here’s one of the pair of leather chairs flanking the massive front window. I love the super fluffy down pillow with a cute pastoral scene on the linen fabric. My mom has done a great job of mixing their antiques (like the tea table) and new items (like the leather chair) in this space! And see that lamp? It’s one of a pair of vases that my great-grandmother handmade, which were later made into lamps!
You can kind of make out the window seat cushion and some pillows. Their dog, Izzy, likes to look out the window waiting for people to come home!
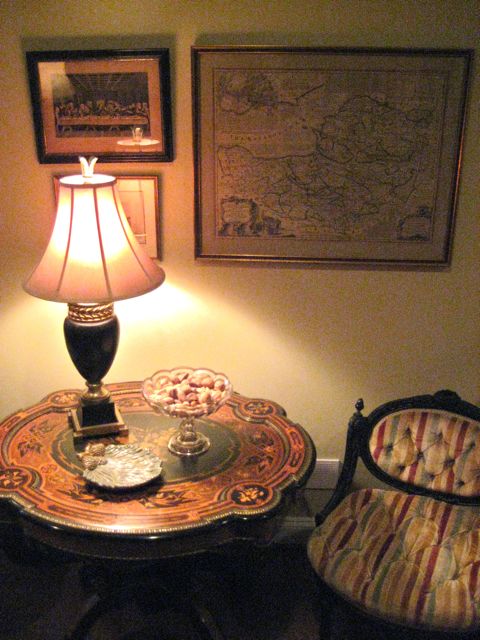
don't touch!
My parents have a lot of antiques – many of them are family pieces, and many have been purchased over the years. One of the tough things about this townhouse, though, is that there is no “don’t touch or sit on, please” room like their last house where they can put the more fragile items. I know it’s kind of silly to have a museum room of sorts, but many of these family heirlooms are hands off, like this amazing hand painted table and one of a pair of velvet covered chairs! They’re so pretty to look at, so it would be a shame to put them in storage, but they somehow need to be protected! She grouped these together away from the rest of the seating so that people aren’t tempted to sit on the chair or put a drink on the table.
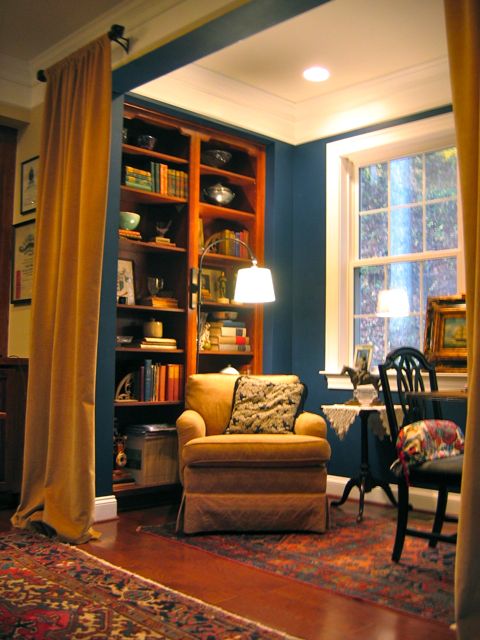
the study-ette
This little anteroom (to the left in the first pic) is where my dad has his desk and does a lot of work and reading. My mom and I painted the walls that deep blue color (it’s much darker and richer in person), inspired by the color of a book’s cover, last Christmas. She’s going to paint the ceiling the same blue too, and will probably lacquer it all. It’s a fun, dramatic bonus space that adds a major pop of color in an otherwise neutral room!
They just installed the pair of sconces from Pottery Barn (the other is over the desk) – so clever to mount them directly to the built-in bookcases! The shelves are full of antique books, more pressed glass, vases, silver, and other family knick knacks. I remember pulling down all the books when I was little (back in the old house) and looking at the cool bindings and pretty illustrations. They don’t make books like they used to!
Okay so you probably noticed the yellow velvet panels framing the windows and study-ette. I think what my mom did is a FANTASTIC idea, adding height, drama, and color to the room. She didn’t want curtains that were intended to be closed; rather, she wanted something to just add some interest to the windows:
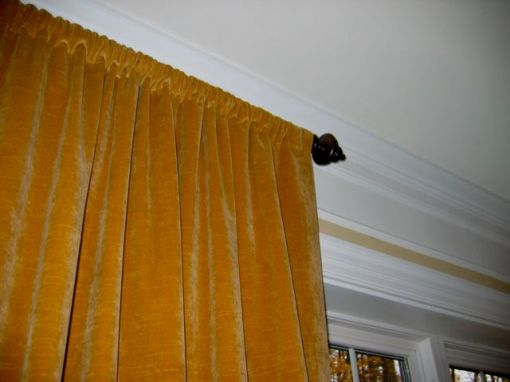
up close and personal look at the panels and rods
The velvet panels were on super sale at Restoration Hardware – they’re the Camel color in the 108″L x 100″W size. What I think is so great, though, is that they’re mounted on inexpensive expandable curtain rods in the 28″-48″ width, but not expanded at all. She thought that running a full rod across the expanse of each window would feel too heavy and take away from the moulding. I think she chose well! They make the room feel so finished!
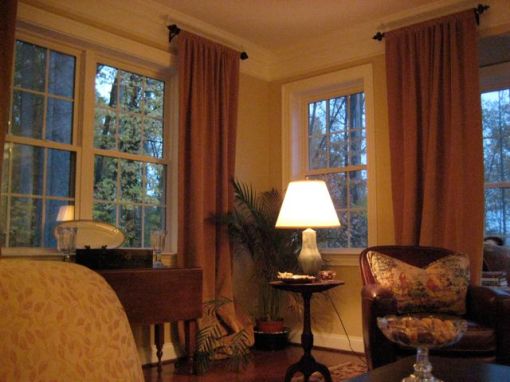
another view of the mounted curtains
So what do you think of how the curtains are mounted? Have you seen this done well elsewhere? I honestly don’t know that I’ve seen exactly this in any magazines, but I’d love to see other examples!
Great job, Mom! It’s really coming along!!!!
